DIY Magnetic Spice Rack
If you’ve been following along with this blog for a while, you’ll know we moved recently. Our new place has a lot more built in storage, but it is overall quite a bit smaller than our last place, so we’re having to be a bit creative with how we store things. The kitchen is especially challenging in that there is quite a bit of storage, but a lot of it is hard to access (think massive corner cupboards with no lazy Susans, and really small openings). This really made it difficult to figure out where to store all my small spice jars.
I had a few of the magnetic spice jars Ikea used to sell a while back, and my initial idea was to buy a whole bunch more, but it looks like they are out of stock. I know you can buy these elsewhere, but they aren’t that cheap, and usually come with a little magnetic stand to put on your counter which I don’t need since I’m planning on using a side of my fridge that is otherwise empty. They are also fairly expensive if you need as many of them as I will.
It occurred to me that I might be able to use some of my fairly extensive mason jar supply and make my own to go with the three large ones I already had. I had even purchased magnets for another project that was never realized that would work perfectly for this, so I’ve barely spent anything. Even if I do need to buy a few more jars my plan is to keep an eye out at thrift stores. If I need to buy some more mason jars, they will be the 125 ml size (1/4 pint for my American friends). That seems to work well in terms of weight for the magnets, and size to contain my spices.
Supplies you’ll need:
The picture above shows the supplies you’ll need. I do know there are better, stronger magnets available, but this is what I had around. With this type of ceramic magnet you’ll need two magnets per 125 ml jar.
125 ml Mason Jars
Ceramic Magnets
Gorilla Glue
Chalk marker (to write the names of the spices on the jars)
To prepare the lids:
To keep things sturdy, follow the manufacturer’s instructions on the back of your gorilla glue to attach the mason jar lid to the ring. After that glue the magnets to the top of the lid and leave to cure overnight. You don’t need a lot of glue, so go easy on it. You don’t want any overflowing onto your counters and that kind of thing so use a bit less than you think you’ll need.
Allow the glue to cure:
Leave the jars to cure for 24 hours, or for as long as the instructions on your glue say. I’ve been stacking them like the photo above with the empty jar on top to sort of keep a bit of pressure on things as they dry. It will probably suggest you clamp whatever you are glueing, but I don't have a clamp, and haven’t found it to be necessary with these so far.
Putting your jars into use:
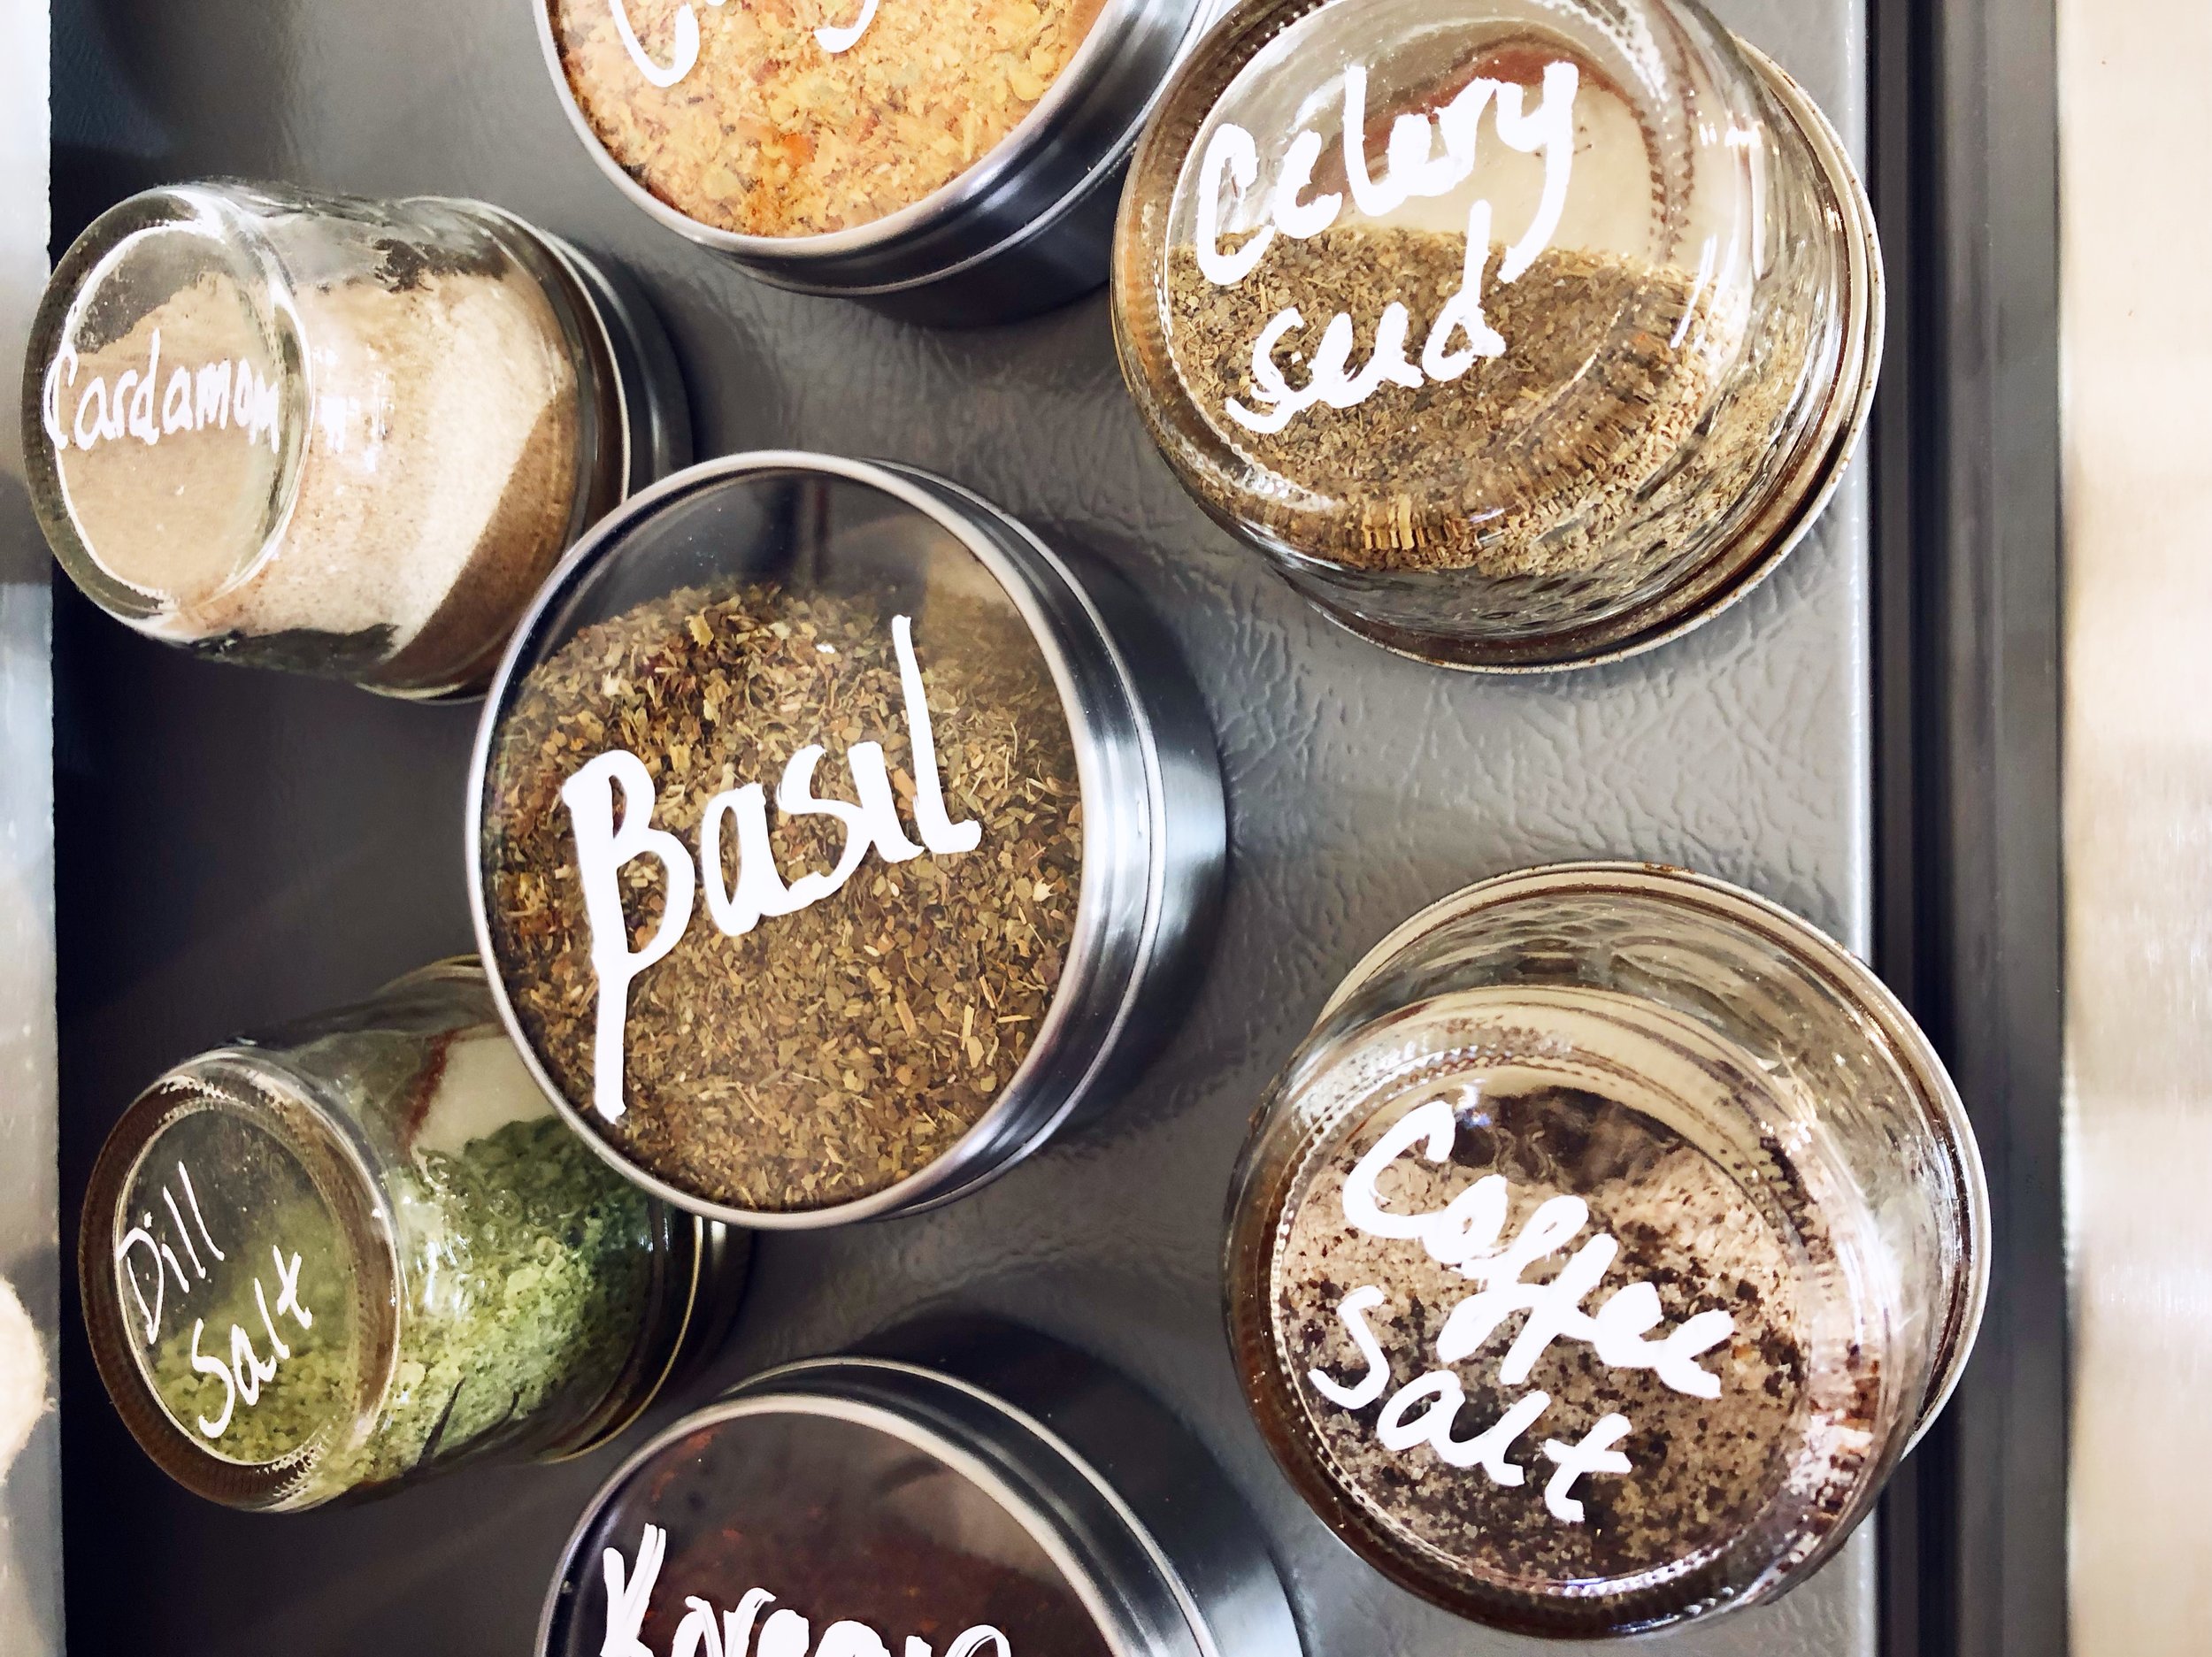
To keep track of what is what use a chalk marker and write on the bottom of the jar what is inside. This is easily wiped off if you end up changing what you’re storing in each jar.
I think a major bonus of using this system, is that my local Bulk Barn allows us to bring our own refillable containers to their store instead of using those little plastic baggies to take ingredients home in. In this case I can just wash the container, and put the empty ones in a tote bag to take with me next time I need spices! When it comes to washing the jars, the dishwasher will be completely fine, but for the lids with their magnets I suggest lightly hand washing them. I’m not sure they’d hold up in the dishwasher.
Let me know if you give this a try! I’d love to see what you come up with in the comments!


